Setup WSO2 Identity Server as a Federated Authenticator
WSO2 Identity Server 7.1.0 includes B2B organization support. The following instructions detail how to configure it as a federated authenticator for WSO2 API Manager.
Configure WSO2 Identity Server
- Download WSO2 Identity Server 7.1.0.
- Add following configurations in the
/repository/conf/deployment.toml file. [oauth] authorize_all_scopes = true [oauth.oidc.user_info] remove_internal_prefix_from_roles=true [[resource.access_control]] context="(.*)/scim2/Me" secure=true http_method="GET" cross_tenant=true permissions=[] scopes=[] [role_mgt] allow_system_prefix_for_role = true -
Start WSO2 Identity Server with a port offset. Port offset is required only if you are running both API-M and IS 7.x in the same JVM.
sh wso2server.sh -DportOffset=1 -
Log in to the IS Console at https://localhost:9444/console and create a new application.
- Select "Traditional Web Application" and complete the form.
- Set the Redirect URL to https://localhost:9443/commonauth
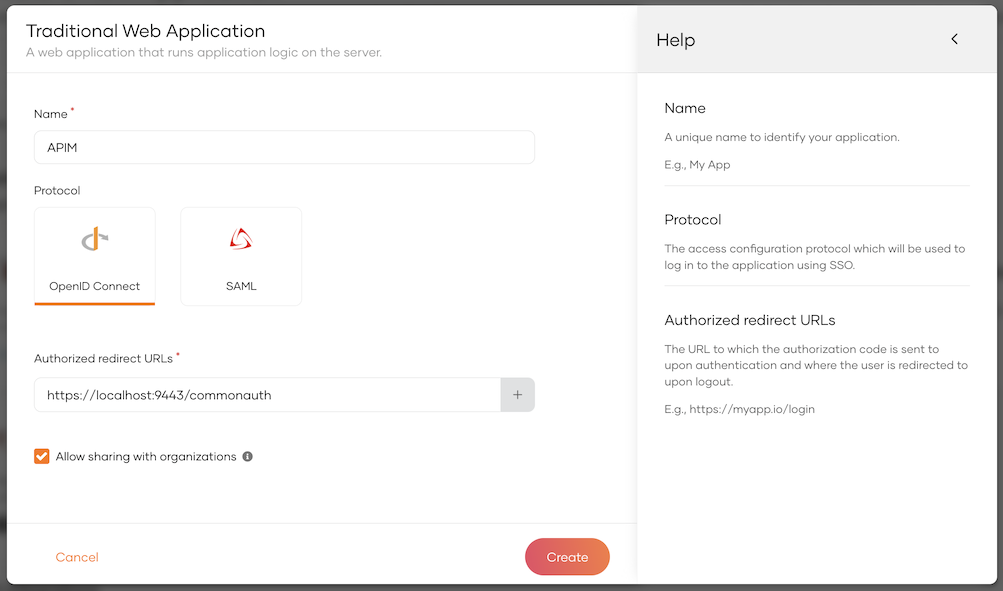
-
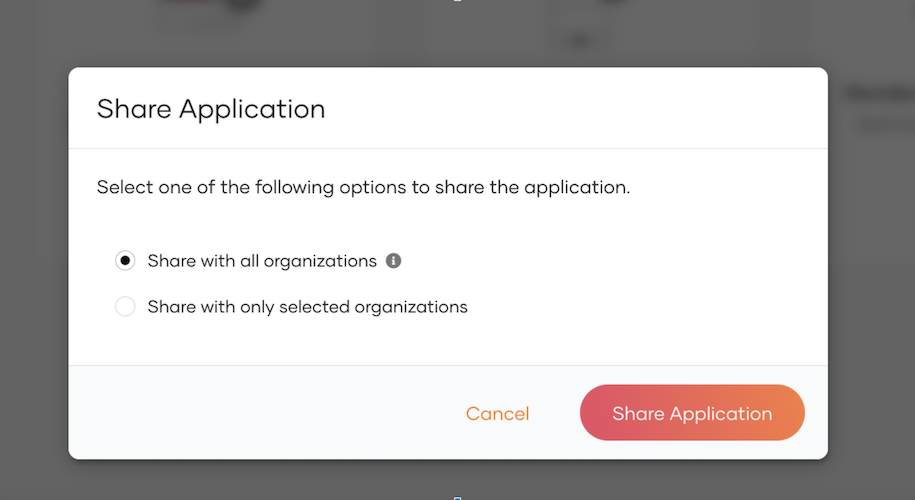
Select ‘Allow sharing with organizations’ option.
-
Once the application is created, go to the 'Protocol' tab and copy the Client ID and Secret for later use.
-
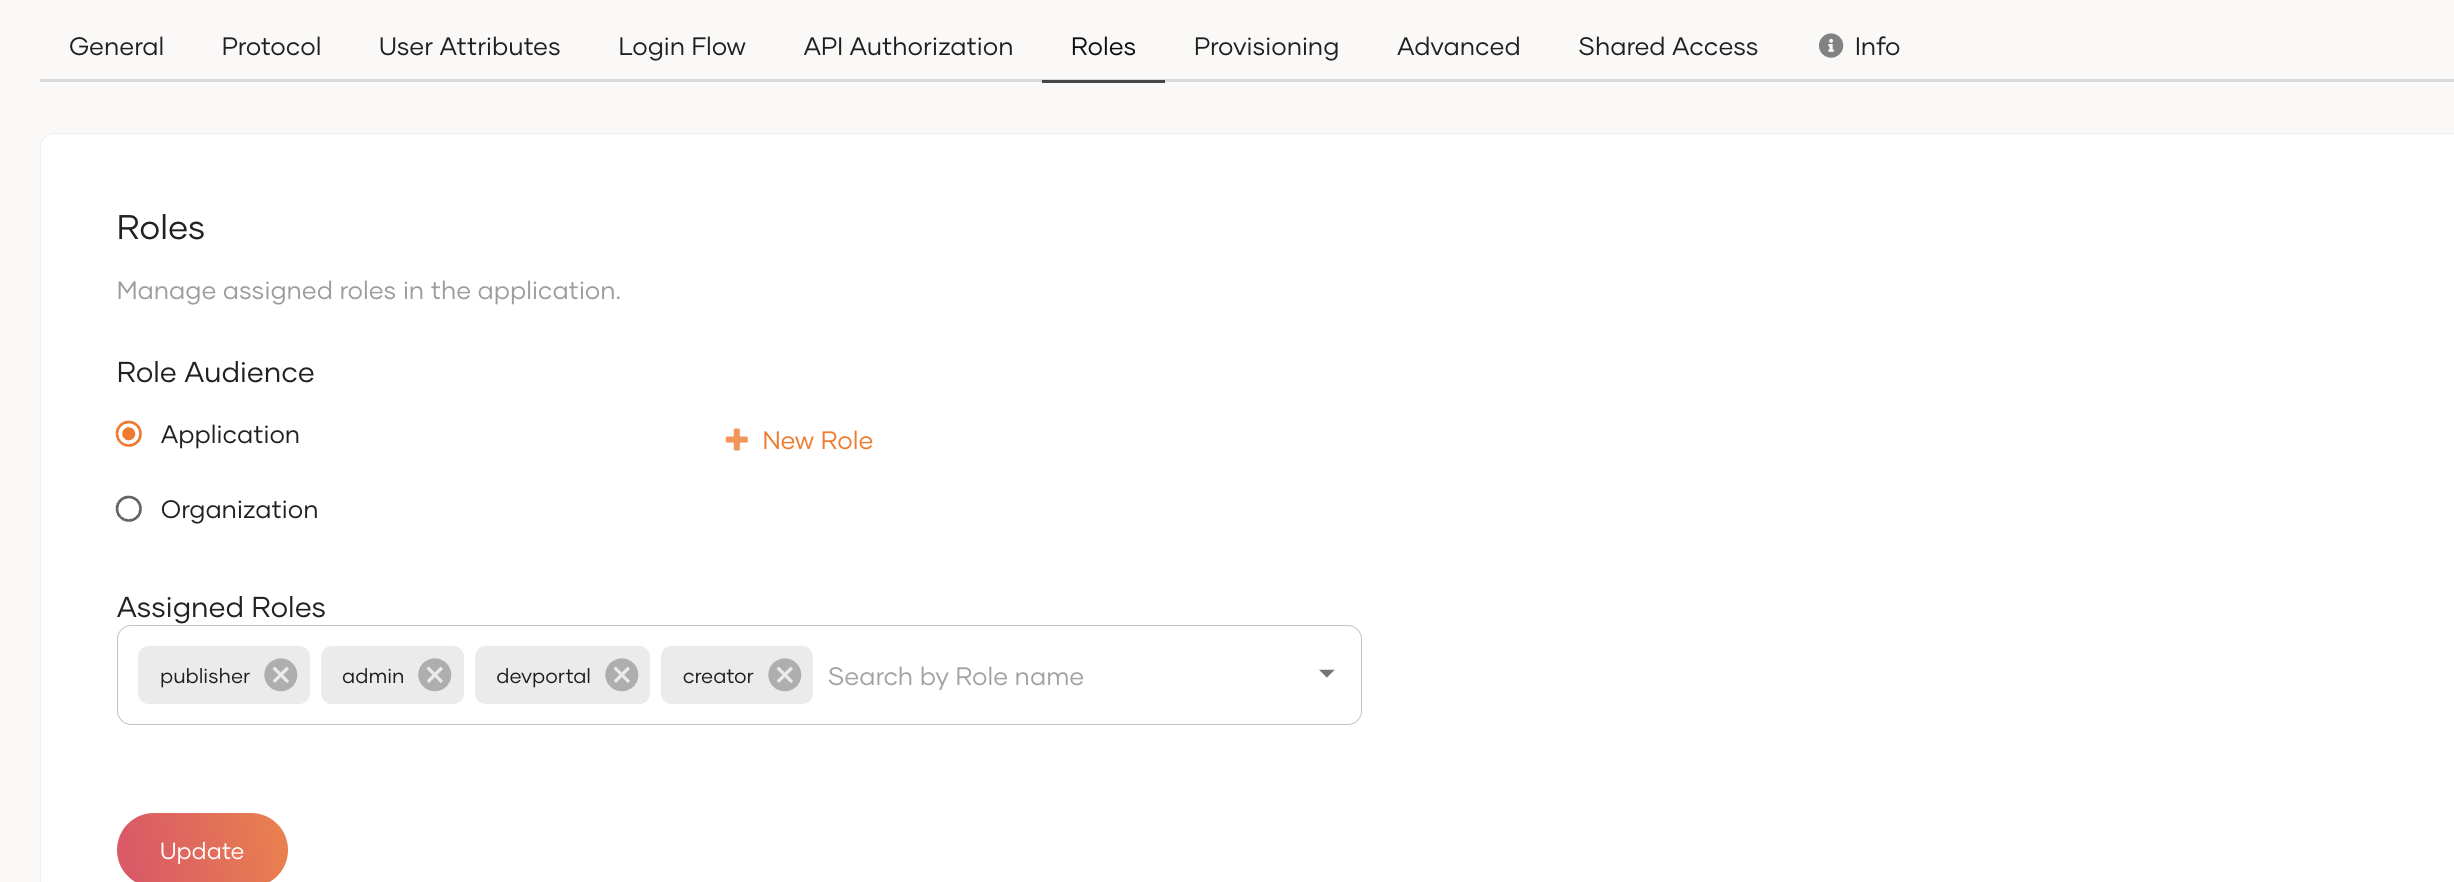
Go to the User Attributes tab and select Roles.
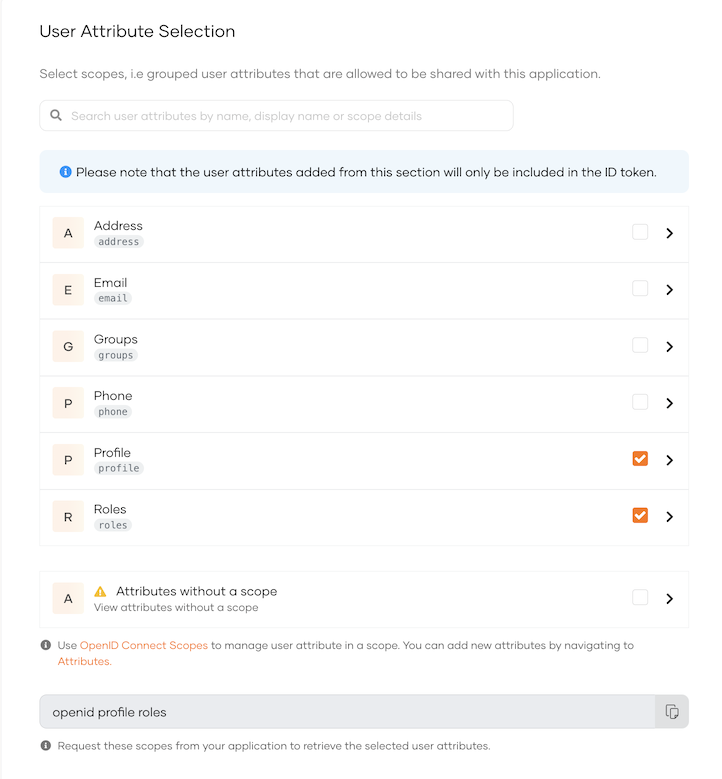
-
Under the Subject sub-section, select Assign alternate subject identifier and select Username.
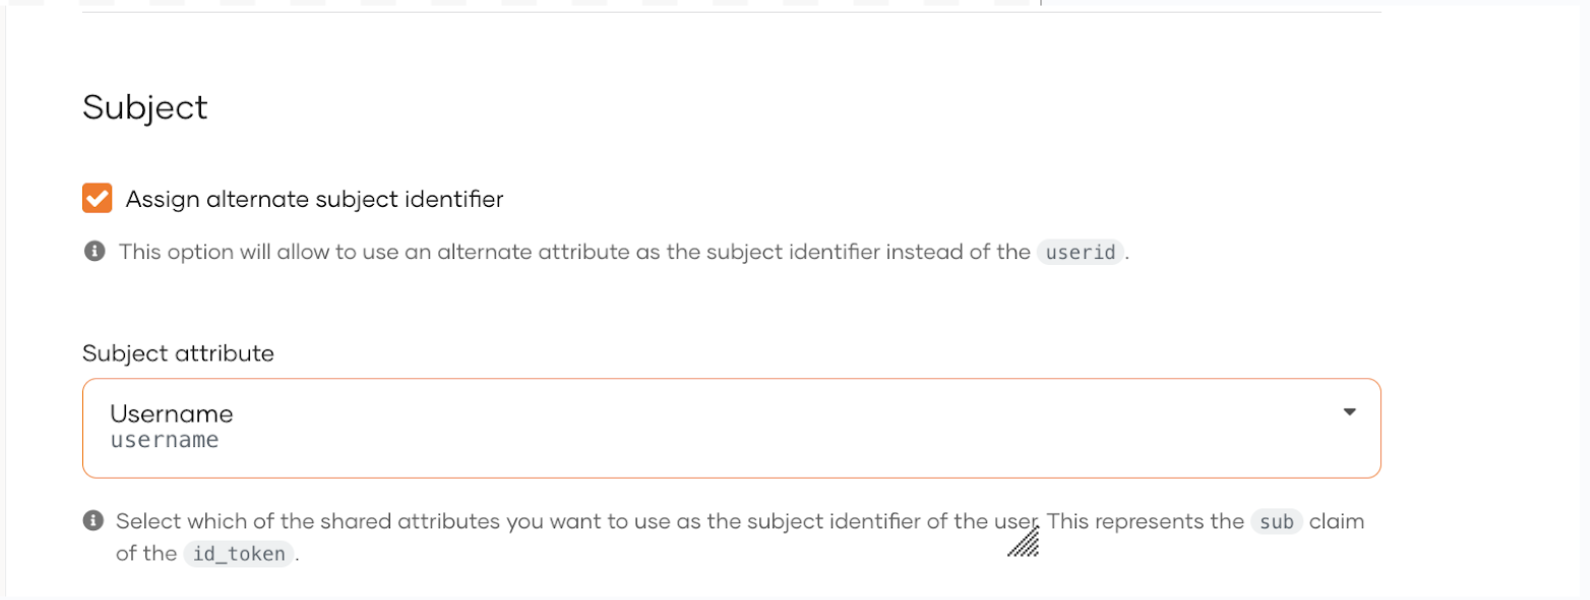
-
Under the Roles sub-section, add application roles devportal, publisher, creator, admin.
-
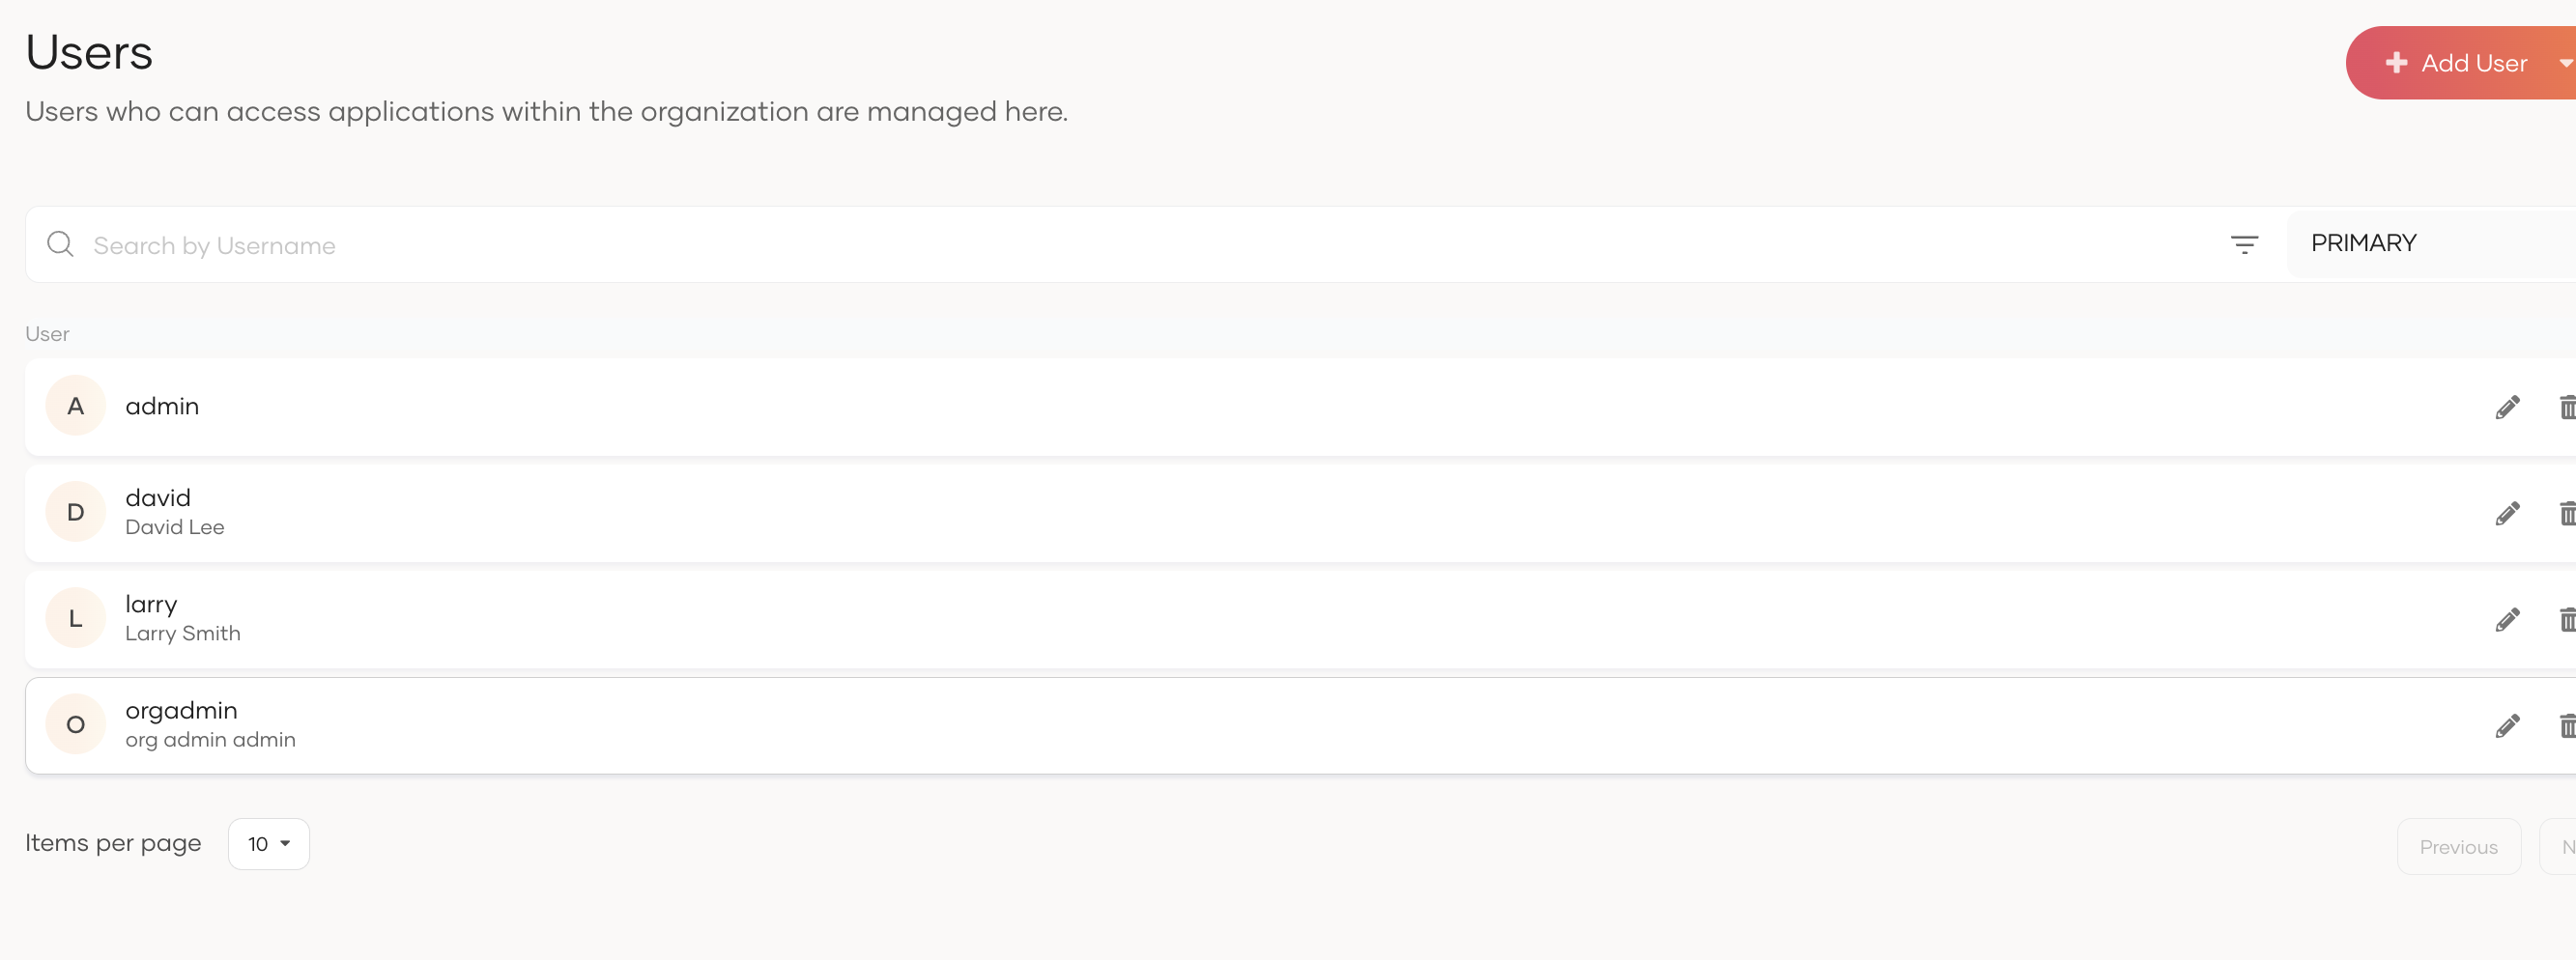
Go to the User Management menu item, navigate to the Users tab, and create three users—one for each portal.
-
Go to the Roles menu item under the User Management menu item and assign application roles to users. (Check audience column and get the application/
roles) 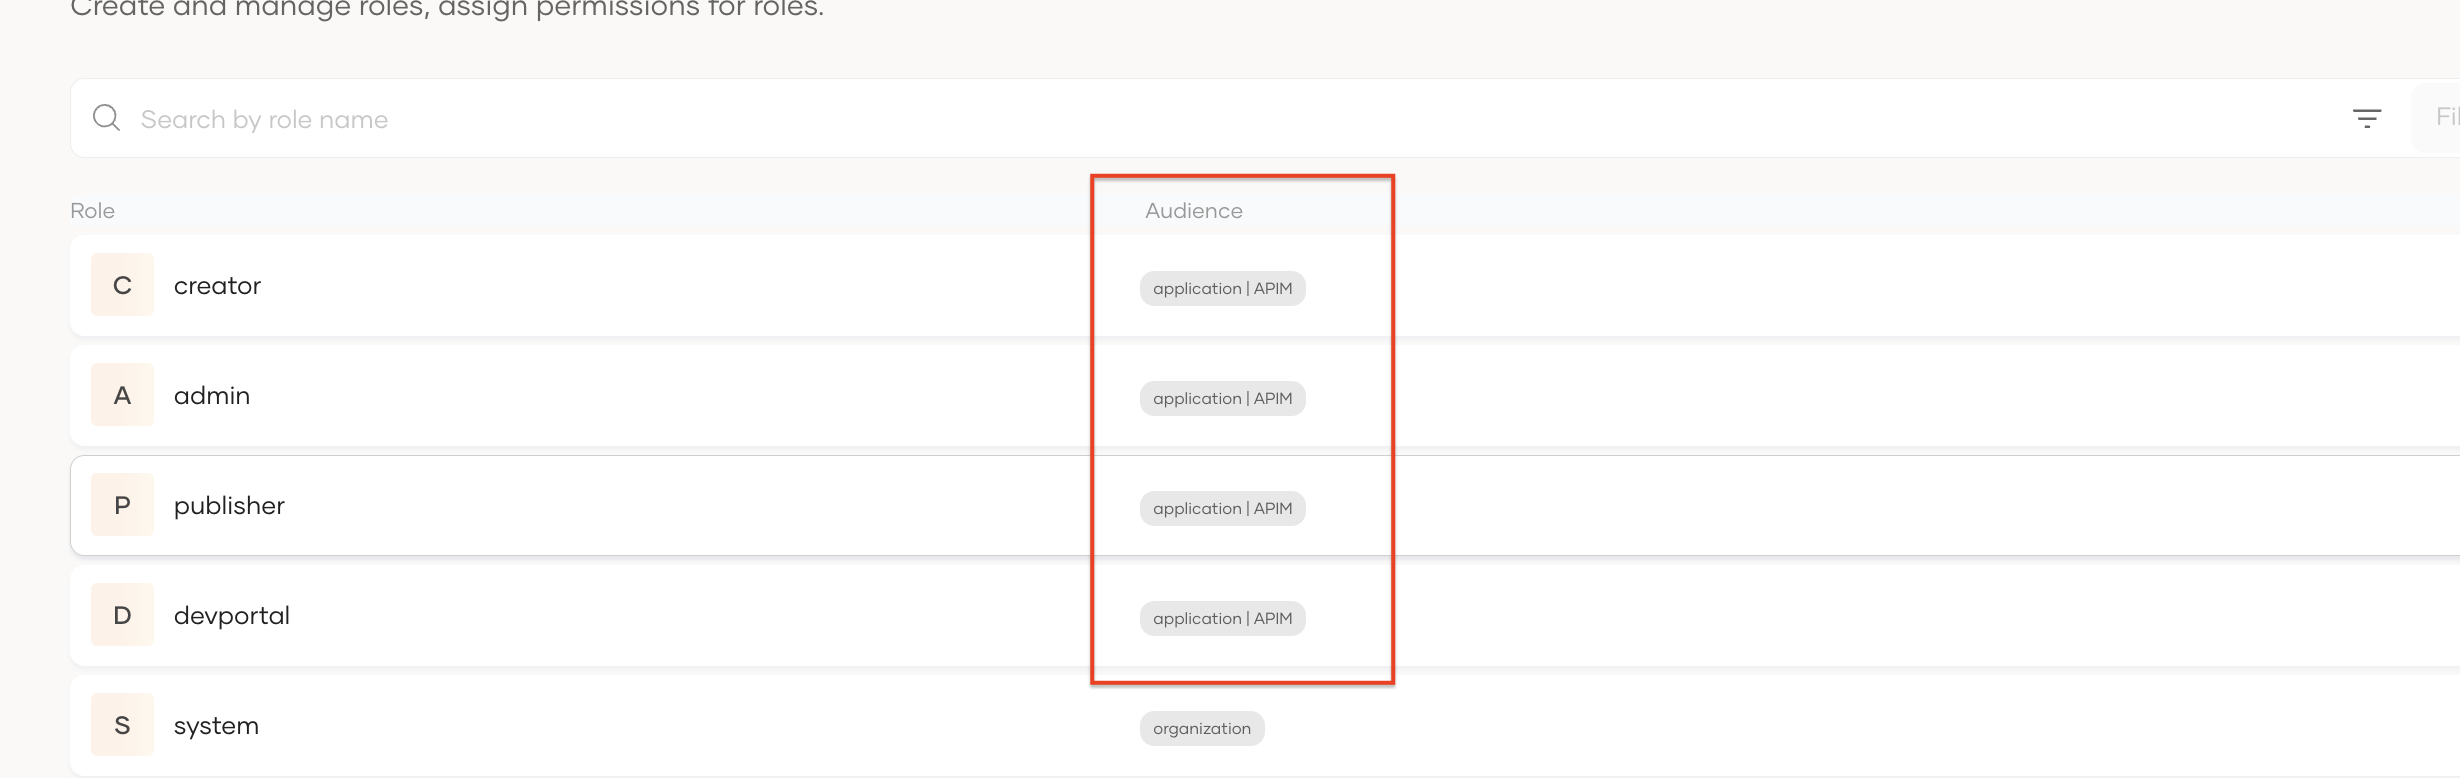
-
Select a role and go to the Users tab to assign users to the role. In this example admin → orgadmin publisher, creator → larry devportal → david
-
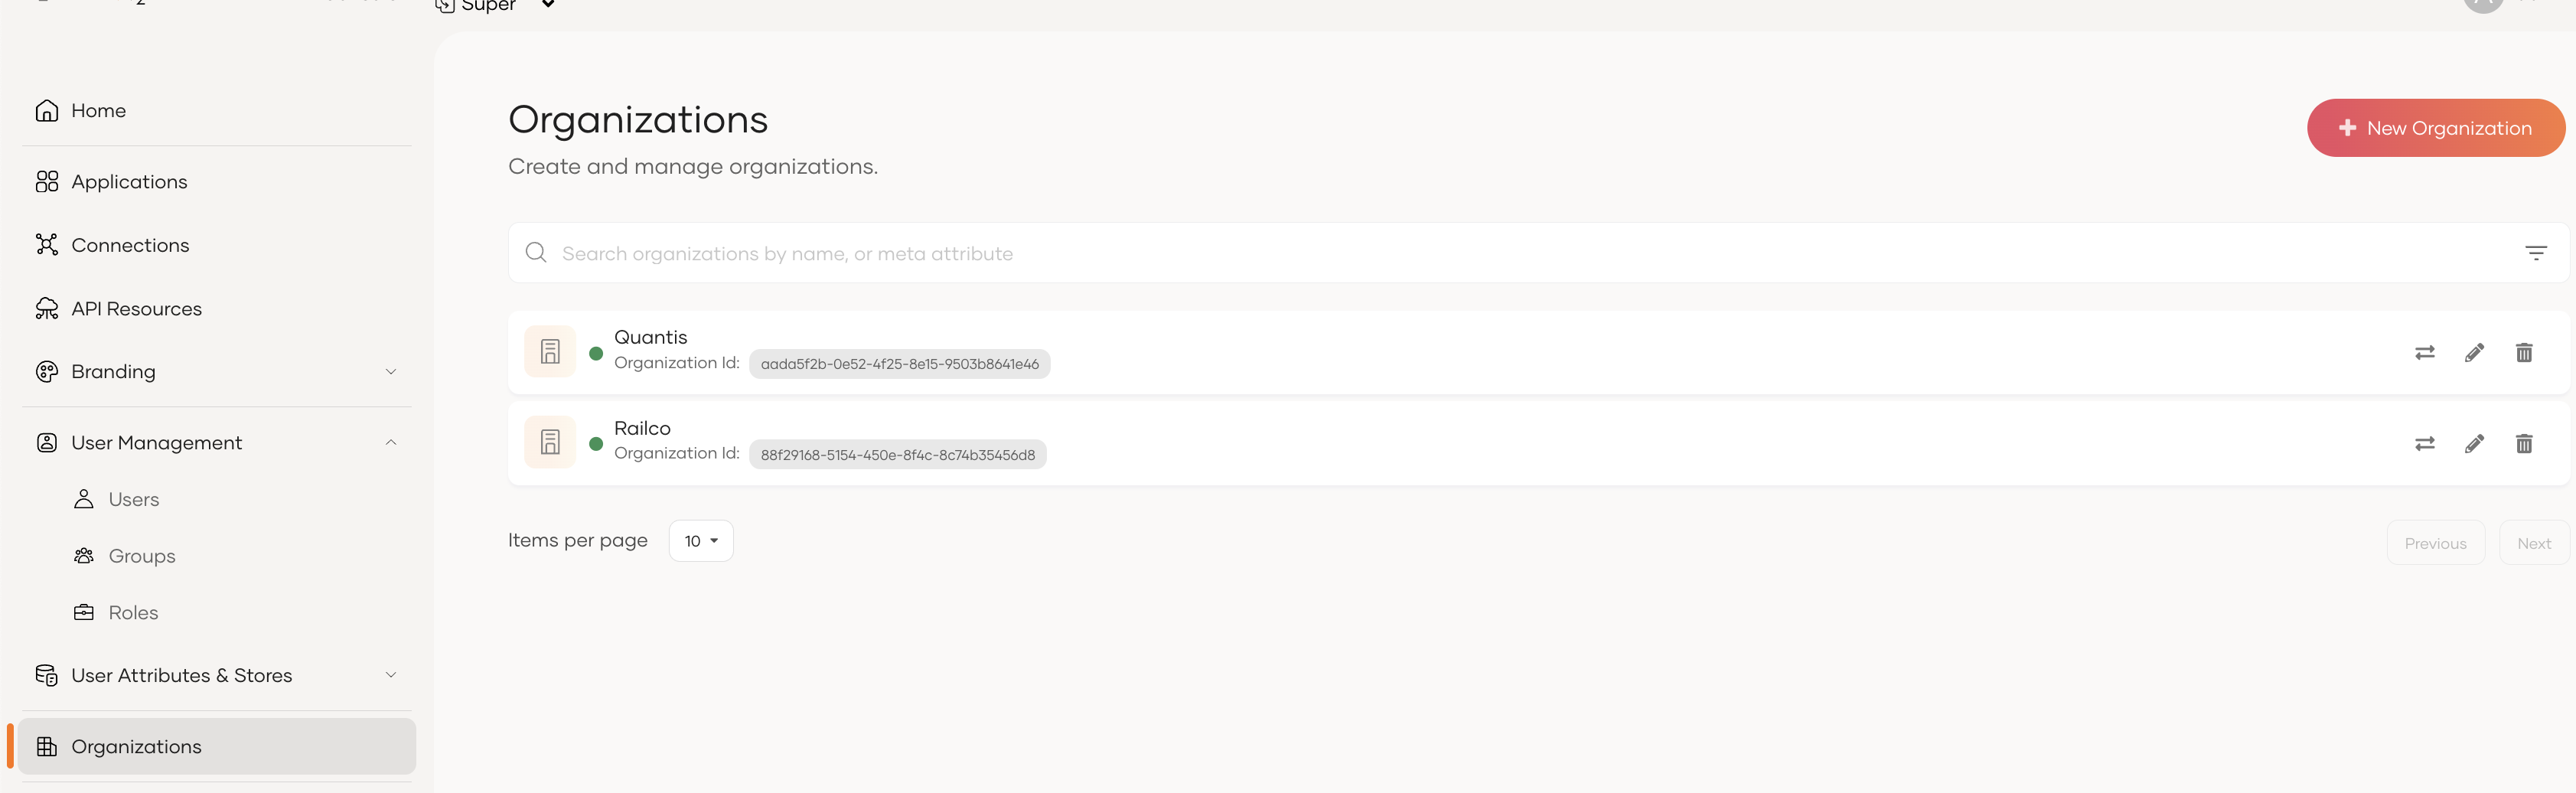
Now let's create organizations. For that, select Organization and create a couple of new organizations. Note down the organization IDs.
-
Select the organization and click Switch to Organization.

-
Under the Users menu item in User Management, add a new user. Let's say
emilyandrobert. -
Under the Roles menu item in User Management, find the previously created
devportalrole and select it. Select the Users tab and set the user to this role.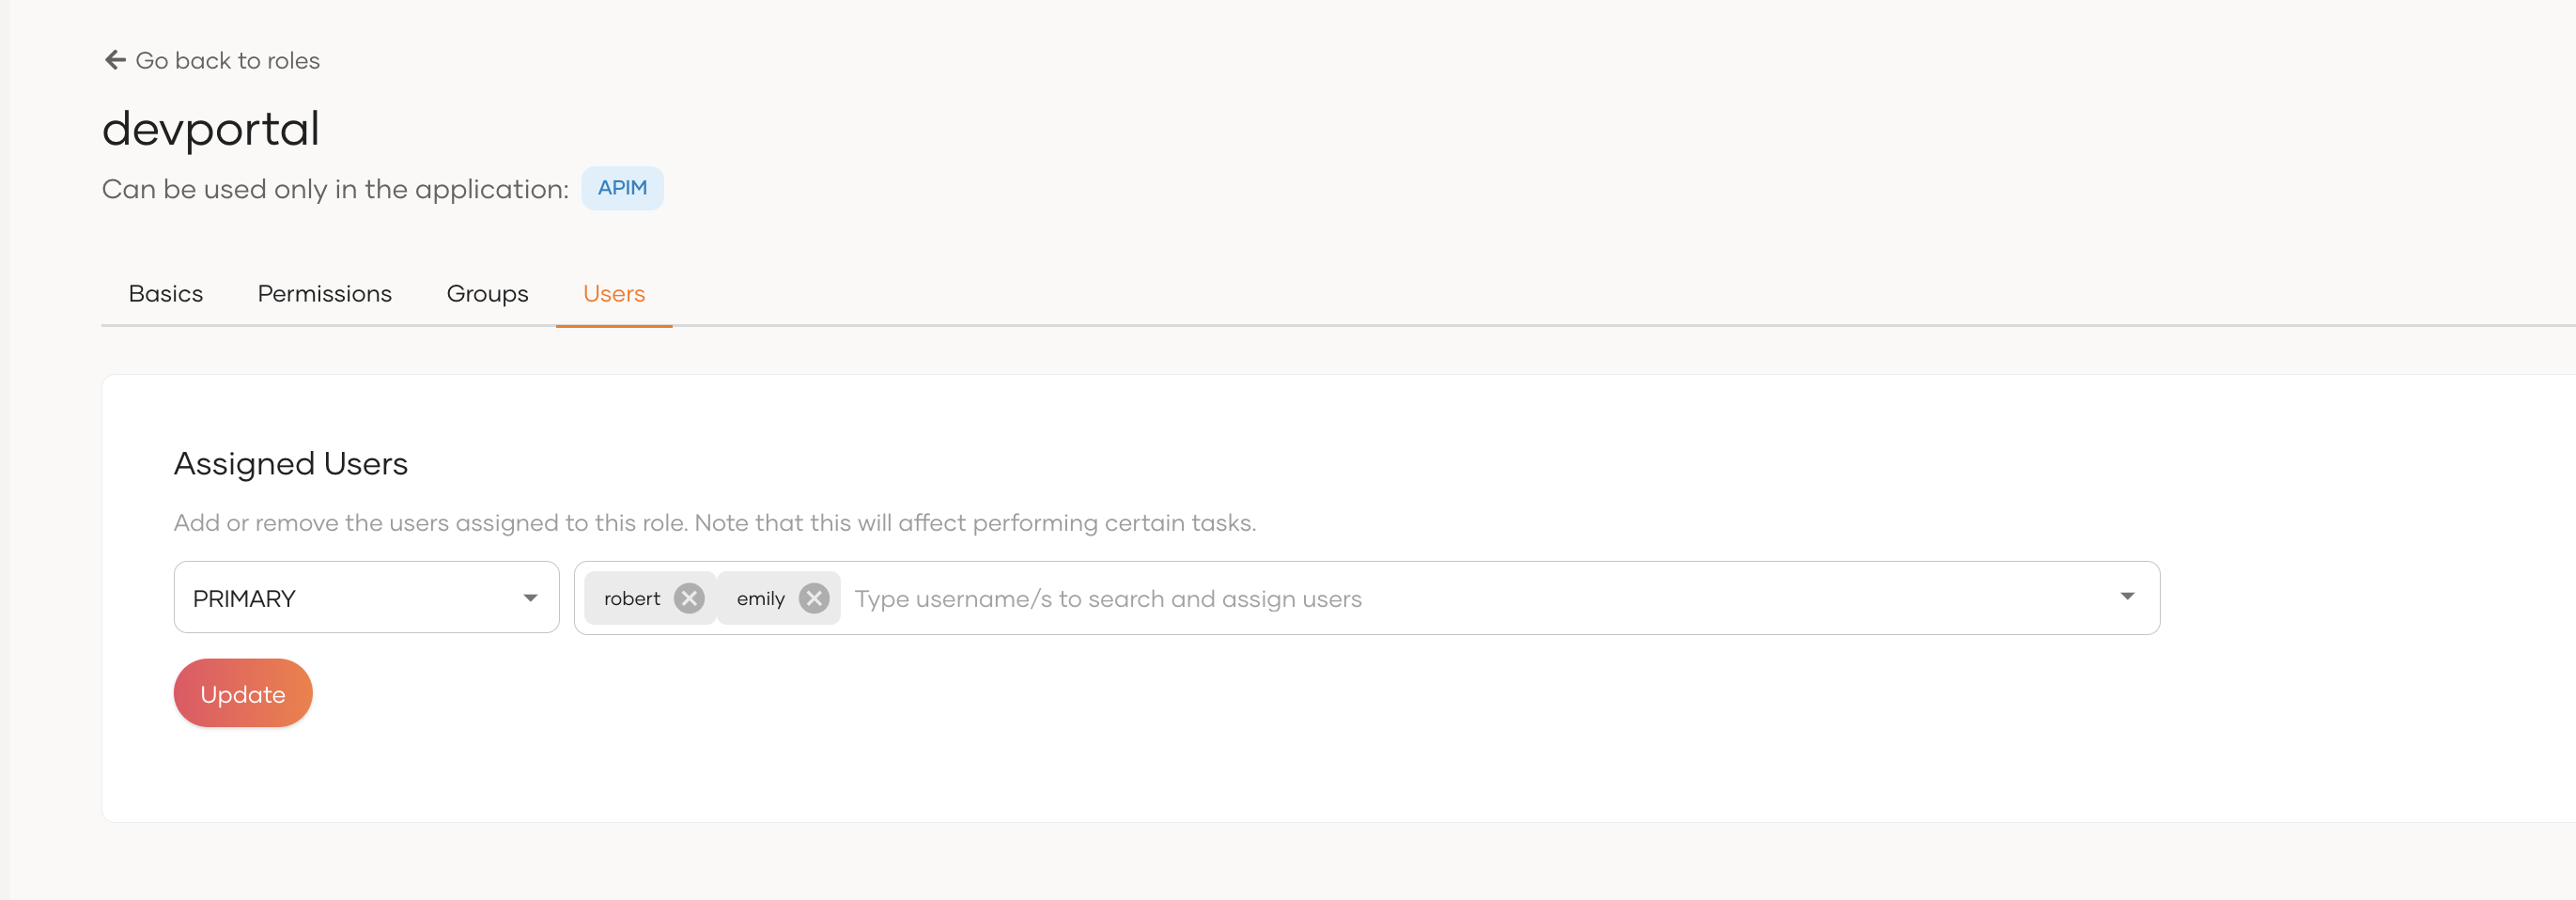
Note
Organization restriction capability is not supported in the Admin and Publisher portals in this release. To prevent organization users from logging into these portals, do not assign them Admin or Publisher/Creator roles to the users in sub organizations.
-
Similarly, create a user in another organization and assign the developer role.