Adding an Application Update Workflow
This section explains how to attach an application update approval workflow to the application update operation in the API Manager. Applying this approval workflow to the application update process enables administrators to review and evaluate pending updates before deciding whether to approve or reject them, providing greater control over how updates are managed. When the Update Application Approval workflow is enabled, updating an application changes its status to UPDATE PENDING. In this state, the application continues to function normally with its existing configuration. Users can still view the application in the Developer Portal; however, they cannot apply any further updates until the pending update is approved or rejected.
Note: Deleting the application is still permitted while it is in the UPDATE PENDING state.
Engage the Approval Workflow Executor in API Manager
First, enable the approval workflow executor for application update.
-
Sign in to WSO2 API-M Management Console (https://
:9443/carbon). -
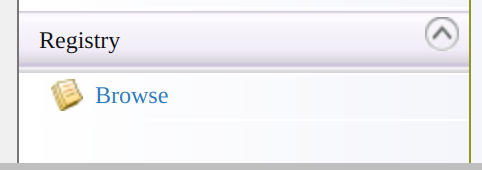
Click Main → Registry → Browse.
-
Go to the /_system/governance/apimgt/applicationdata/workflow-extensions.xml resource, click on Edit as text to edit the file, disable the Simple Workflow Executor, and enable Approval Workflow Executor for application update.
<WorkFlowExtensions>
    <!-- ApplicationUpdate executor="org.wso2.carbon.apimgt.impl.workflow.ApplicationUpdateSimpleWorkflowExecutor"-->
 <ApplicationUpdate executor="org.wso2.carbon.apimgt.impl.workflow.ApplicationUpdateApprovalWorkflowExecutor"/>
</WorkFlowExtensions>
Once the changes are done, click on
Save Content.The application update Approval Workflow Executor is now engaged. -
Update an application via the Developer Portal.
-
Sign in to the Developer Portal.
(
https://localhost:9443/devportal) -
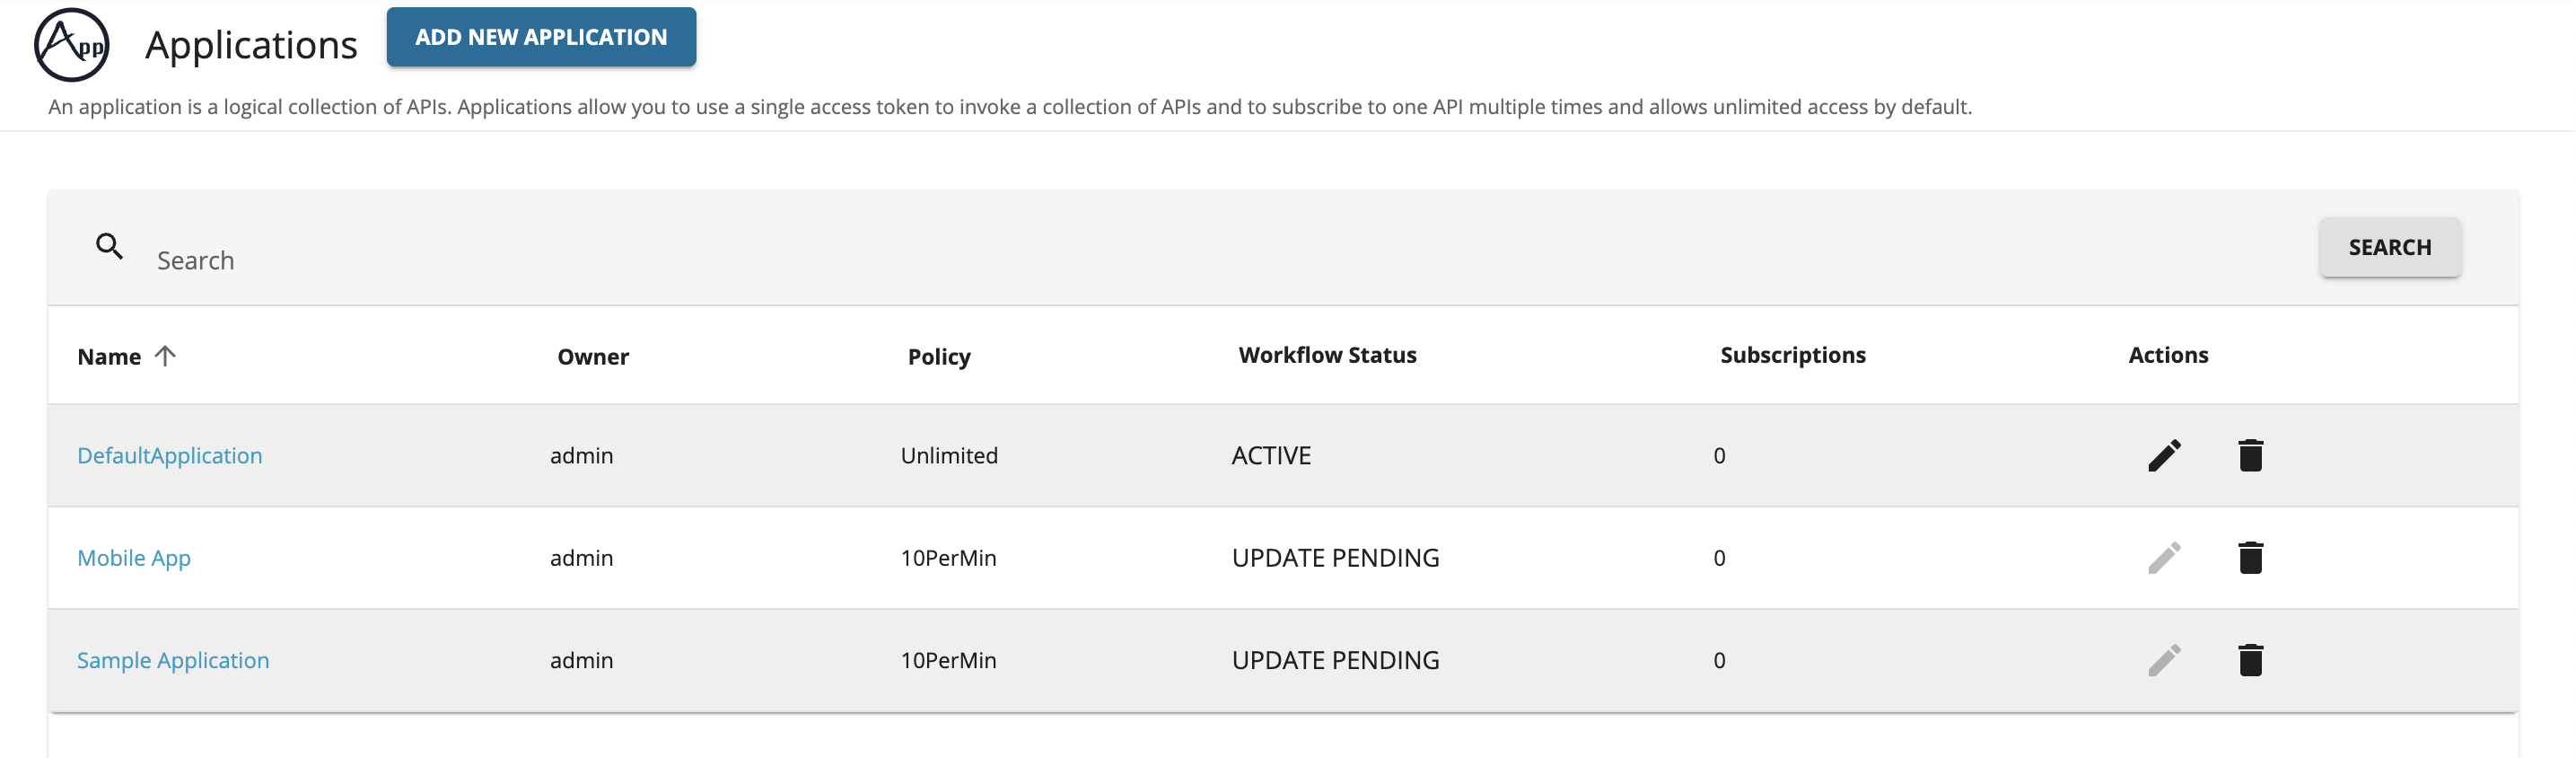
Click Applications then click the edit icon or select the application to be edited.
-
Apply the preferred changes and click on the save button.
Note that the Status field of the application is changed to UPDATE PENDING.
-
-
Sign in to the Admin Portal (
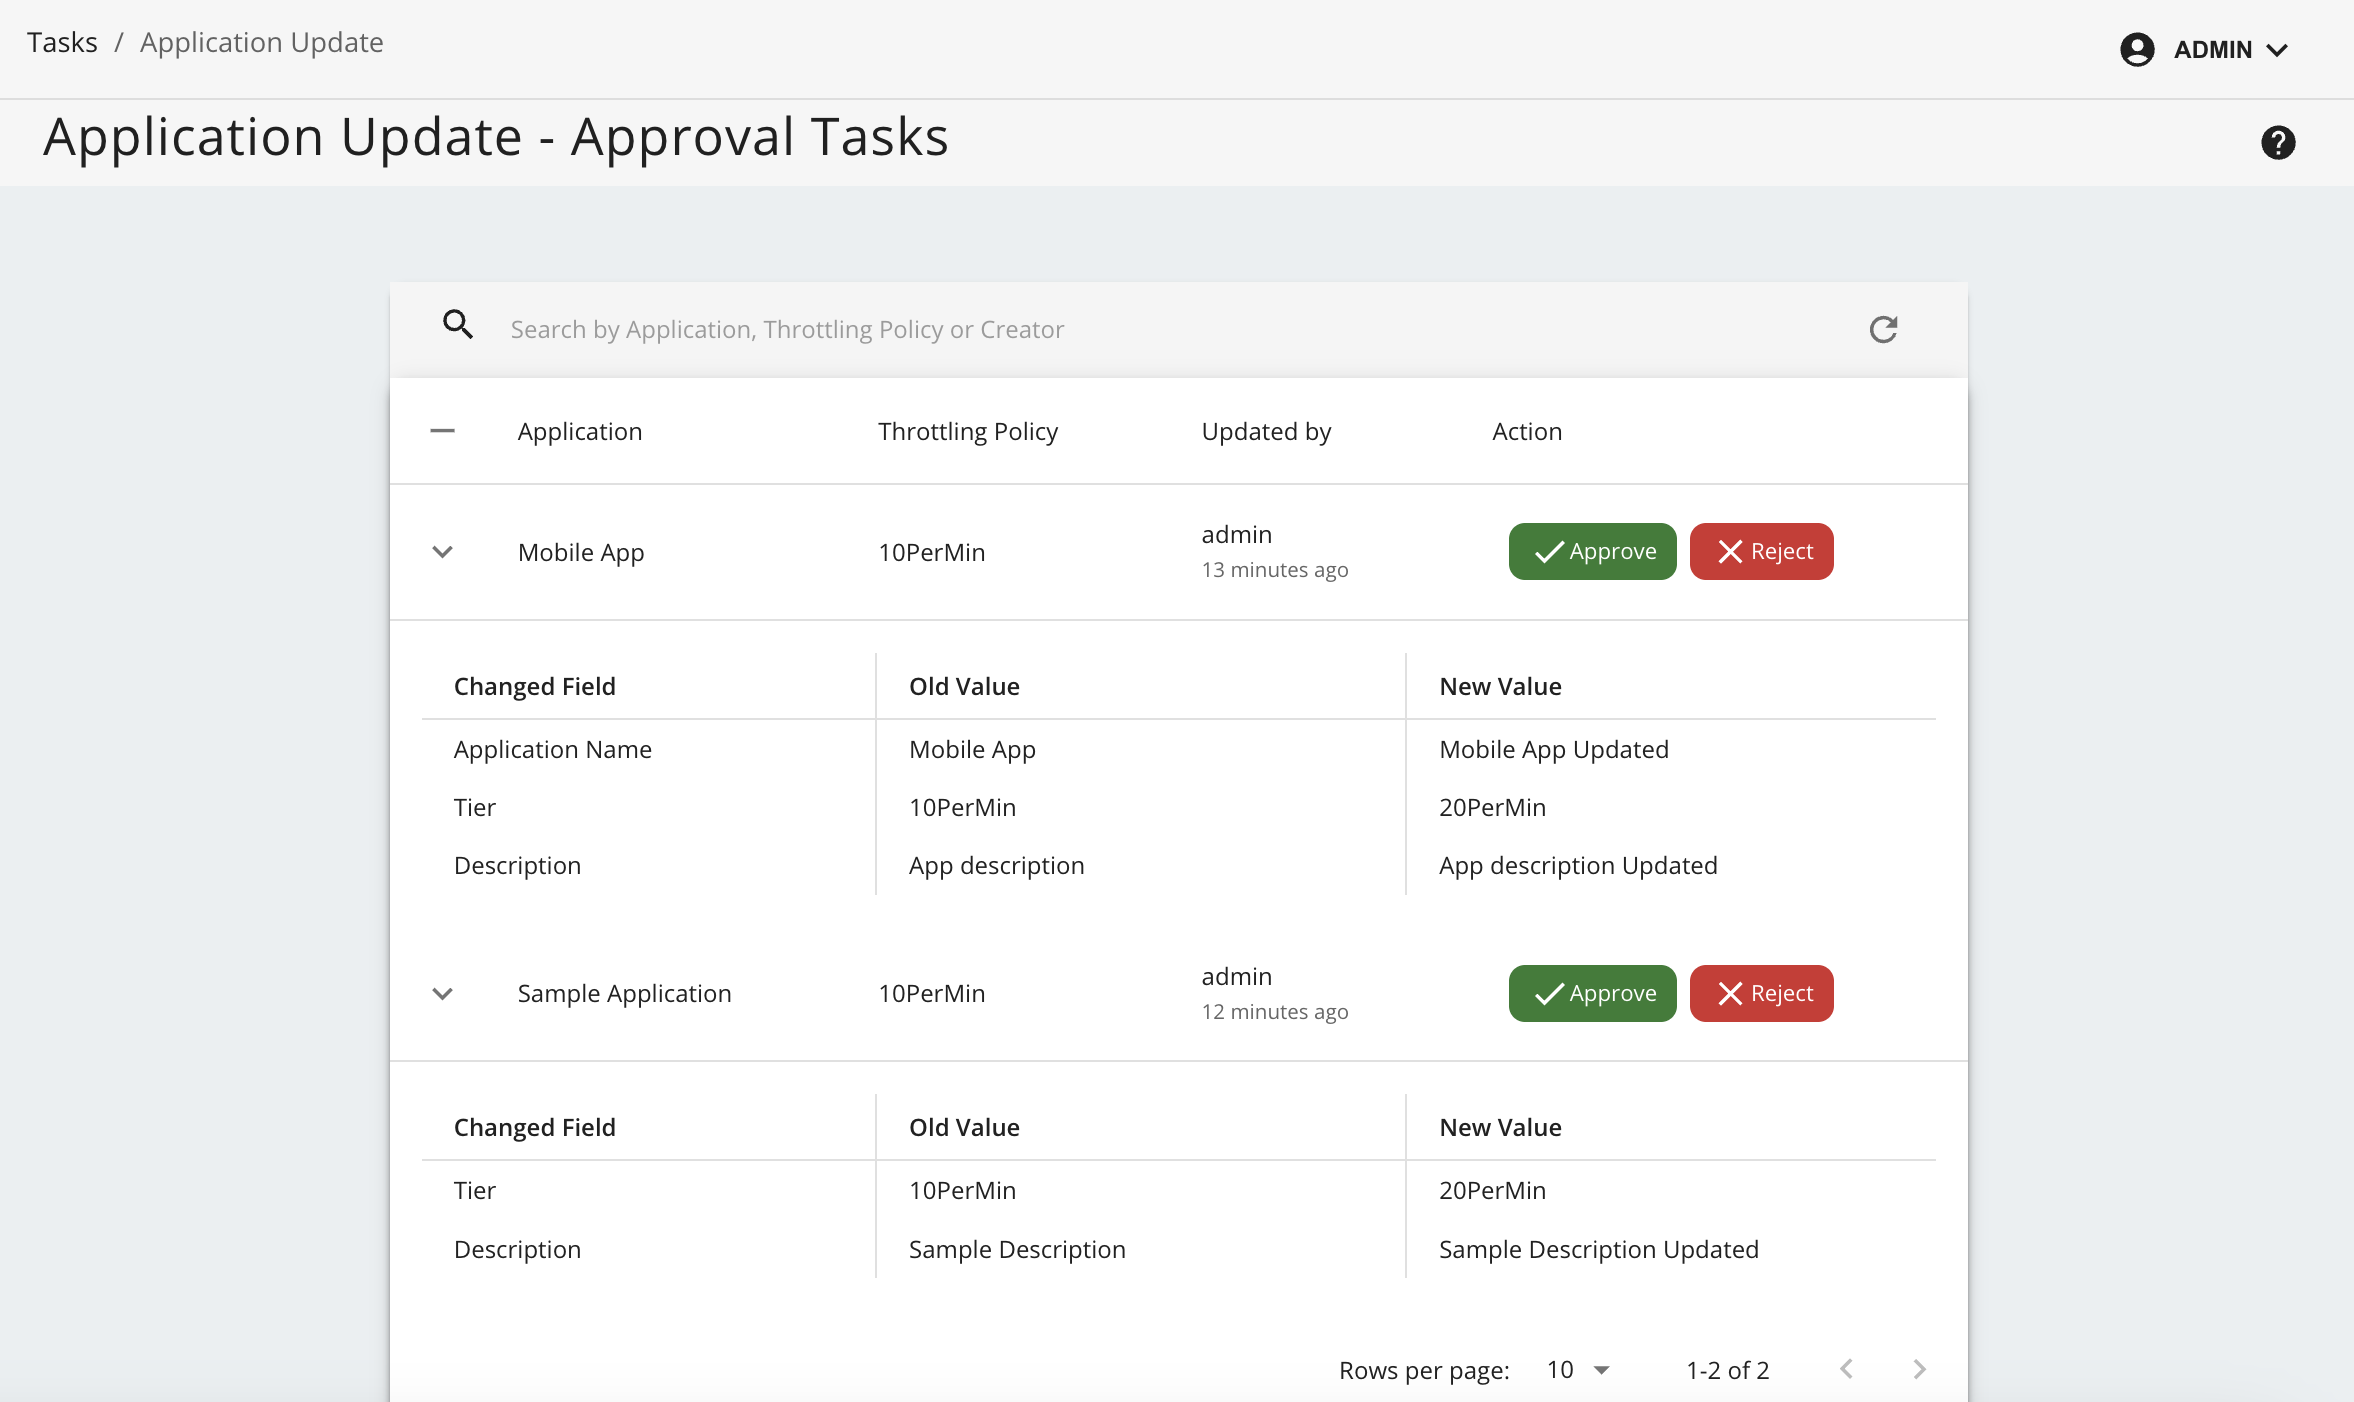
https://localhost:9443/admin), list all the tasks for application update from Tasks → Application Update and approve or reject the task. -
Click the arrow icon on the left side of the table entry to view the detailed summary of the pending changes before proceeding with an Approve or Reject action.
-
Go back to the Applications page in the WSO2 Developer Portal and see the updated application, the status has to be either ACTIVE or UPDATE REJECTED.