Publish an API to Developer Portal
This guide provides step-by-step instructions for publishing APIs, AI APIs, MCP Servers, and API Products to the WSO2 API Manager Developer Portal, making them available for application developers to discover, subscribe, and consume.
Info
You can publish the following to the Developer Portal:
- APIs: REST, SOAP, SSE, WebSocket, WebSub, GraphQL
- AI APIs
- MCP Servers
- API Products
Overview
API Publishing is the process of making an API visible and available for subscription in the Developer Portal. When an API is published:
- The lifecycle state changes from CREATED to PUBLISHED (see API Lifecycle)
- API metadata becomes visible in the Developer Portal
- Application developers can discover and subscribe to the API
- The API becomes available for consumption through applications
Prerequisites
Before publishing, ensure the following requirements are met:
- Endpoint Configuration: Valid endpoint URL configured (for APIs and AI APIs)
- Business Plans: At least one business plan (subscription tier) selected
- Created State: The API, AI API, MCP Server, or API Product must be created and in CREATED state
Tip
You can check if these requirements are met in the Lifecycle page of the Publisher Portal.
Publishing an to Developer Portal
Step 1: Sign in to the Publisher Portal
-
Navigate to the Publisher Portal:
Example:https://<hostname>:9443/publisherhttps://localhost:9443/publisher -
Sign in with your credentials.
Step 2: Select the API or AI API or API Product or MCP Server to Publish
- Click on an API or AI API or API Product or MCP Server that is in the CREATED state

Enhanced API Visibility
You can enhance the API tile display in developer portal by configuring the following settings in:
<APIM_HOME>/repository/deployment/server/webapps/devportal/site/public/theme/settings.json
"tileDisplayInfo": {
    "showMonetizedState": true,
    "showBusinessDetails": true,
    "showTechnicalDetails": true
}
This displays:
- Monetization status
- Business owner information (with email on hover)
- Technical owner information (with email on hover)

Step 3: Navigate to Lifecycle
-
Click on the Lifecycle tab in the left menu
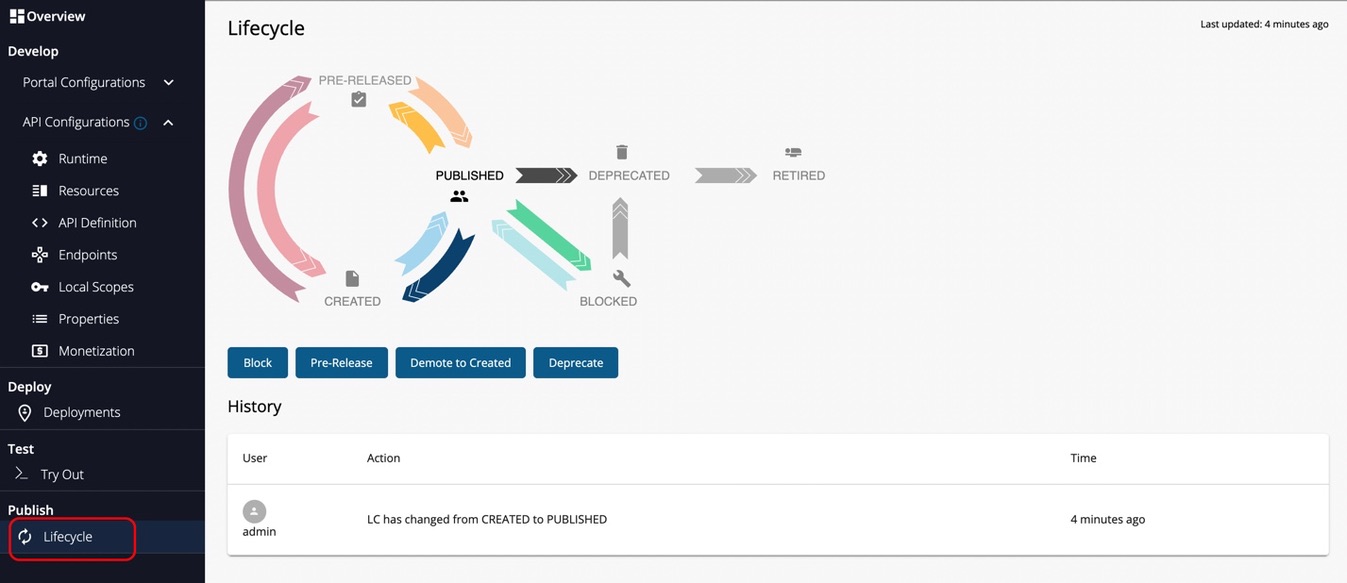
-
The lifecycle state transition grid appears. Check for any missing requirements:
- Endpoint provided
- Business Plan(s) selected
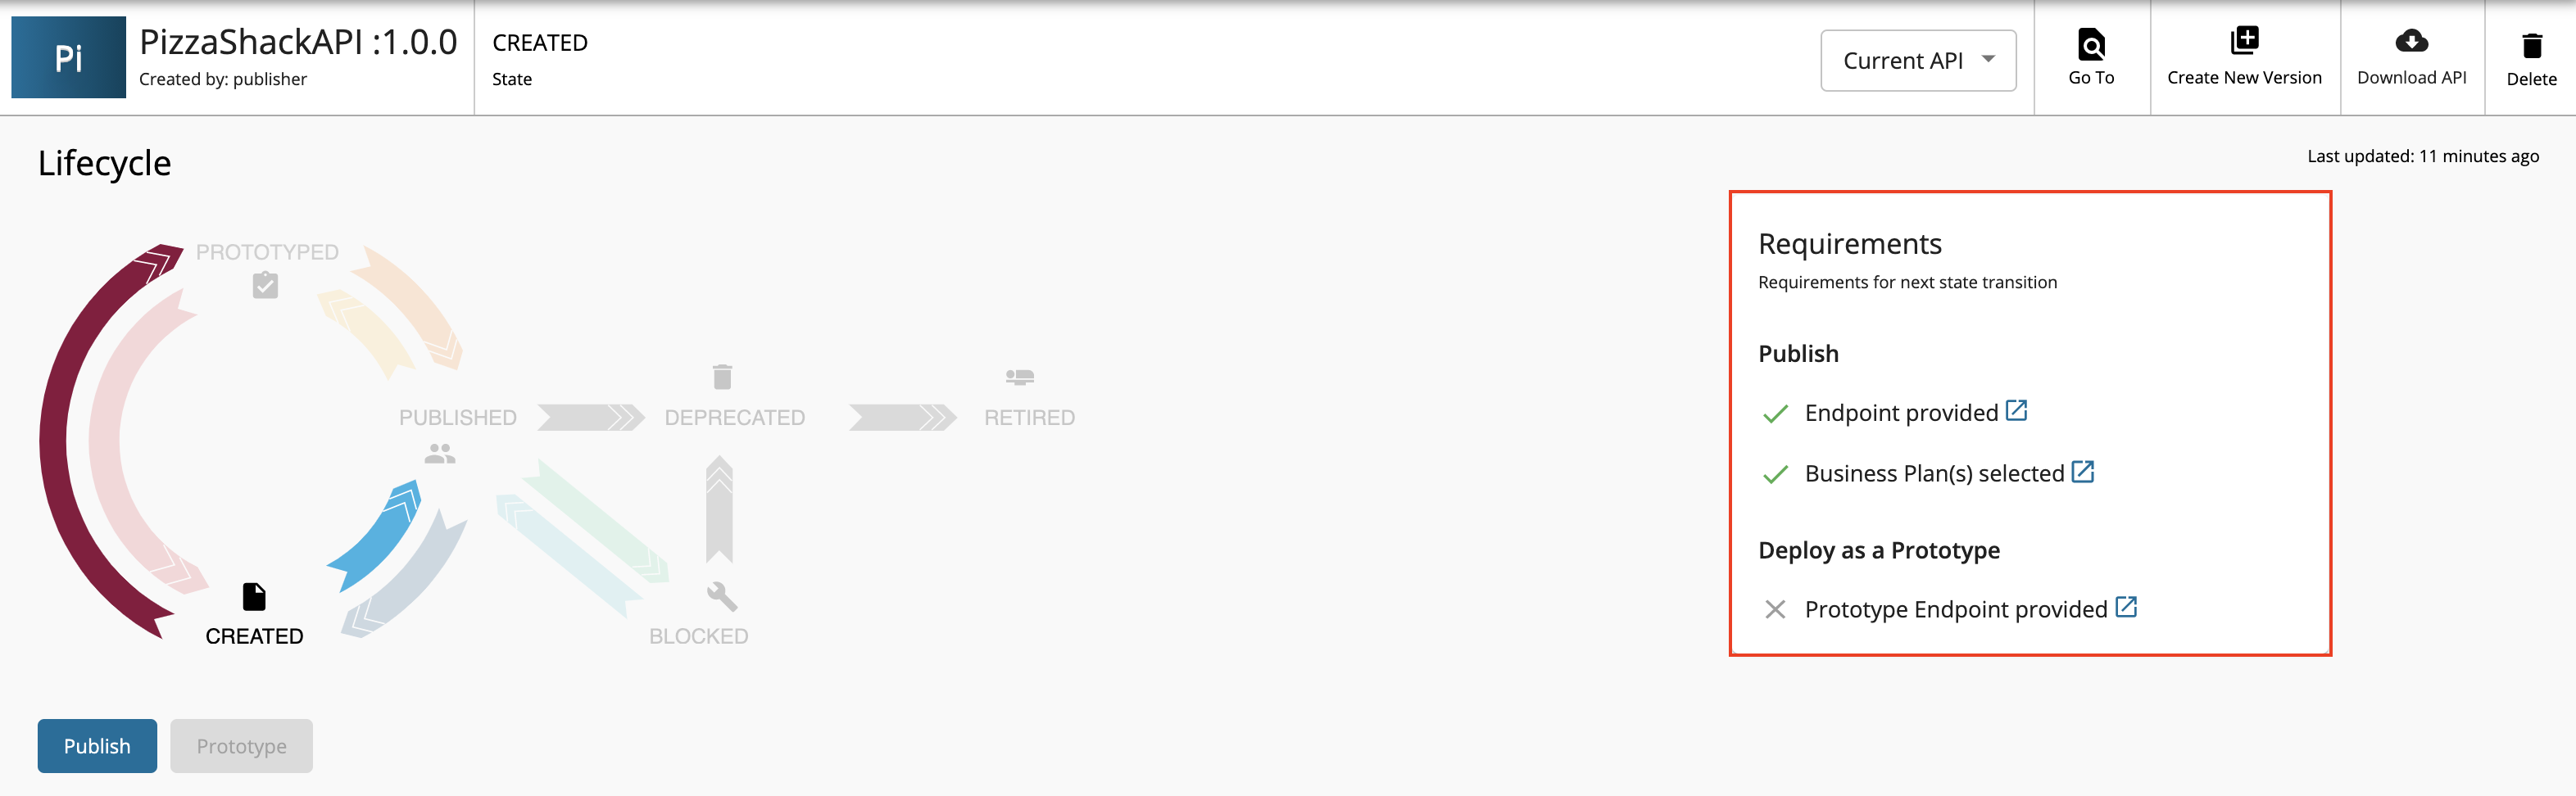
Warning
If requirements are not satisfied, navigate to the relevant sections (Endpoints, Subscriptions) to provide the missing information.
Step 4: Publish the API
-
Click the PUBLISH button
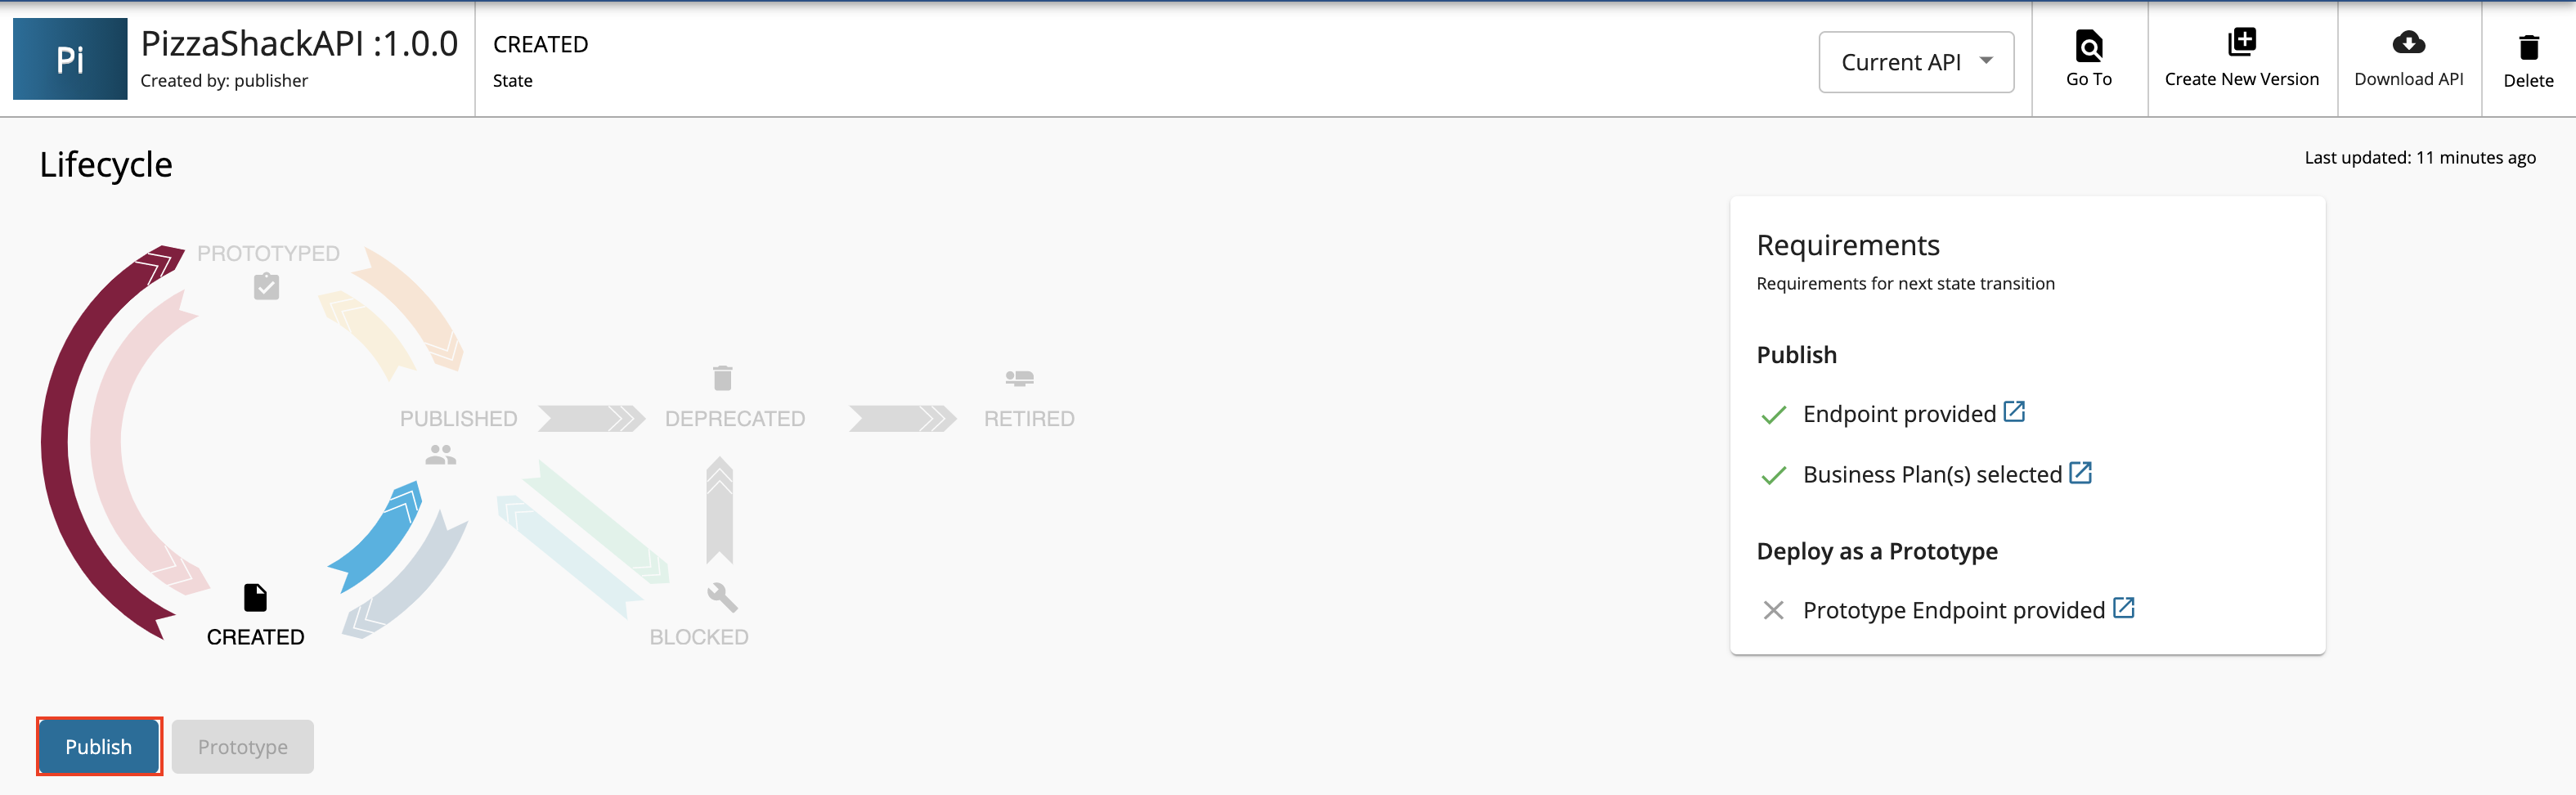
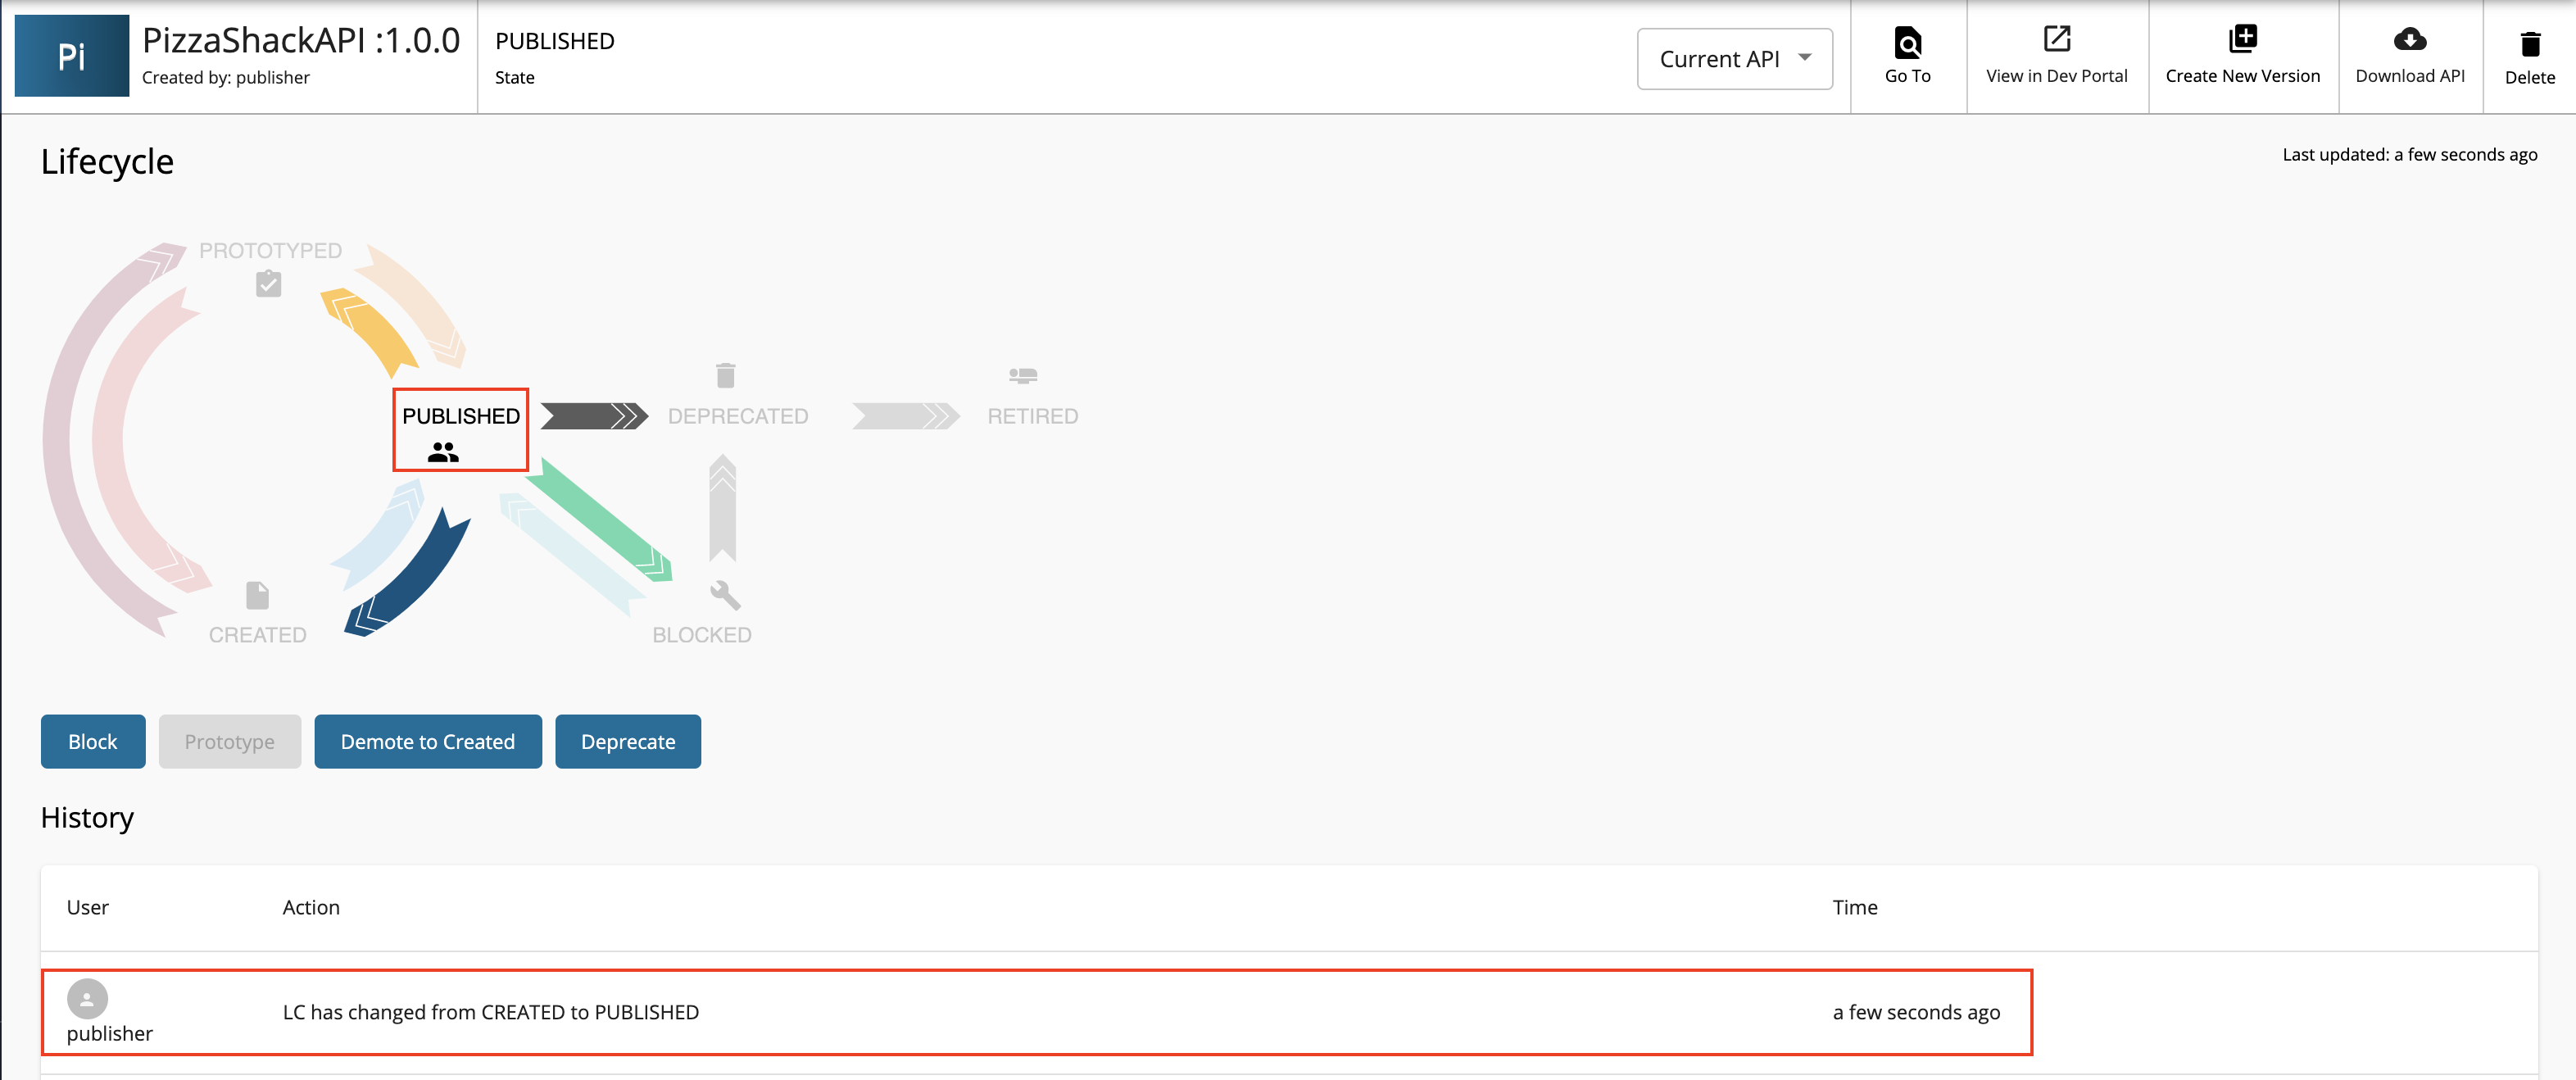
-
Upon successful publication, the lifecycle state changes to PUBLISHED
Step 5: Verify in Developer Portal
-
Navigate to the Developer Portal:
Example:https://<hostname>:9443/devportalhttps://localhost:9443/devportal -
Verify that your published API is visible under the APIs listing
Success
Your API is now published and available for developers to discover and subscribe!
Publishing Third-party APIs
WSO2 API Manager supports publishing APIs that are deployed on external gateways. These APIs are listed in the Developer Portal for discovery but are not proxied through WSO2 Gateway.
For detailed instructions on adding and configuring third-party APIs, see Add a Third-party API.
Best Practices
Before Publishing
- Complete API Documentation: Add comprehensive documentation before publishing - See Add API Documentation
- Configure Appropriate Business Plans: Select business plans that match your API's target audience - See Assign Business Plans
- Set Correct Visibility: Configure API visibility (Public, Restricted, Private) - See Control API Visibility and Subscription Availability
- Add Business Information: Include business owner and technical owner details
- Test Endpoints: Verify all endpoints are reachable and working
During Publishing
- Monitor Lifecycle State: Ensure the state transition completes successfully
After Publishing
- Verify in Developer Portal: Always check the API appears correctly
- Test Subscription Flow: Create a test application and subscribe
- Monitor Analytics: Keep track of API usage and subscriber growth
- Update Documentation: Keep documentation current with API changes
Following these steps ensures your APIs, AI APIs, MCP Servers, and API Products are properly published and discoverable in the Developer Portal, enabling application developers to easily find, subscribe to, and consume them.
See Also
- Consume APIs Overview - Learn how application developers can discover and consume published APIs.
- Discover APIs - Explore how to search and find APIs in the Developer Portal.
- Subscribe to an API - Subscribe to published APIs from an application.
- Create Application - Create applications to consume APIs.