Manage Application Rate Limits
As an application developer, you can view and modify your application's rate limiting configuration, manage API subscriptions, and reset individual user quotas when needed. This guide shows you how to perform these management tasks in the Developer Portal.
Creating an Application with Rate Limiting
When you create a new application, you must select a rate limiting tier that defines the total number of requests your application can make across all subscribed APIs.
Create a New Application
To create an application with rate limiting:
- Sign in to the Developer Portal
- Navigate to Applications
- Click Add New Application
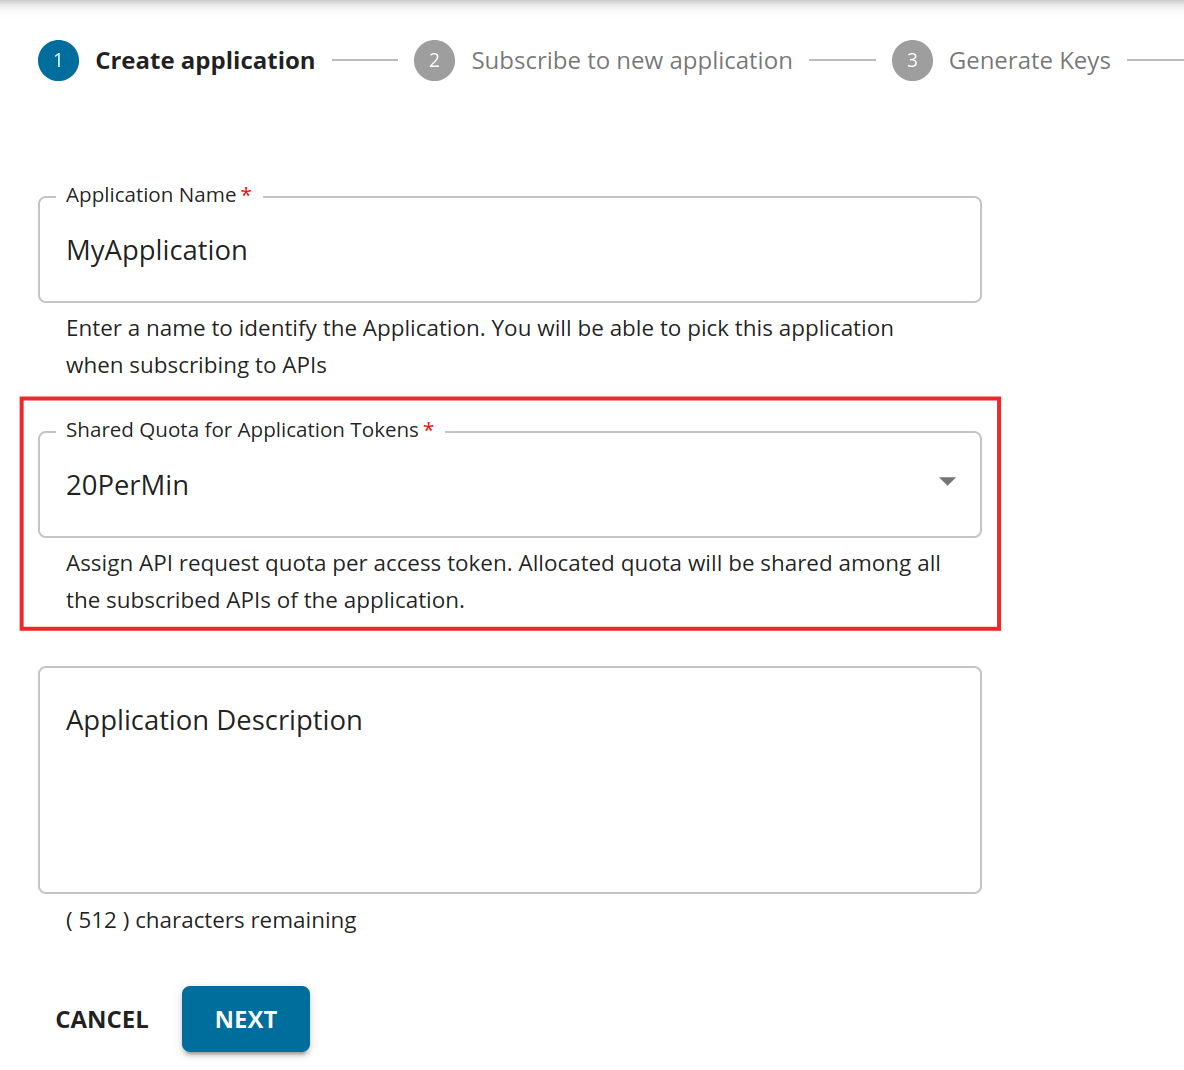
- Enter the following details:
- Application Name: A unique name for your application
- Per Token Quota: Select a rate limiting tier from the dropdown (e.g., 10PerMin, 20PerMin, 50PerMin, or Unlimited)
- Description: (Optional) Add a description for your application
- Click Save to create the application
Tip
The available rate limiting tiers are configured by your API administrator. If you need a custom tier with specific limits, contact your administrator before creating the application.
Viewing and Modifying Application Tiers
Your application's rate limiting tier controls the total number of requests your application can make across all subscribed APIs.
View Your Current Application Tier
To view your application's current rate limiting tier:
- Sign in to the Developer Portal
- Navigate to Applications
- Select your application
- View the current tier on the application overview page
Modify Your Application Tier
You can modify your application's tier by editing the application settings in the Developer Portal. However, the available tiers are determined by your API administrator.
To upgrade your application tier or request custom limits, contact your API administrator. They can:
- Create custom tiers with specific request limits or bandwidth restrictions
- Adjust tier limits to match your application's needs
- Configure burst control policies to manage traffic spikes
Note
When you change your application tier, you may need to regenerate your access tokens for the changes to take effect across all your subscribed APIs.
Managing Subscriptions
Each API subscription operates under a subscription-level rate limiting tier that controls how many requests your application can make to that specific API.
View Available Subscription Tiers
To view subscription limits for a specific API:
- Navigate to the API in the Developer Portal
- Go to the API's details page
- Check the Subscriptions section for available tiers
- Review the request limits for each tier (e.g., Bronze: 1000 req/min, Silver: 2000 req/min, Gold: 5000 req/min)
Subscribe to an API
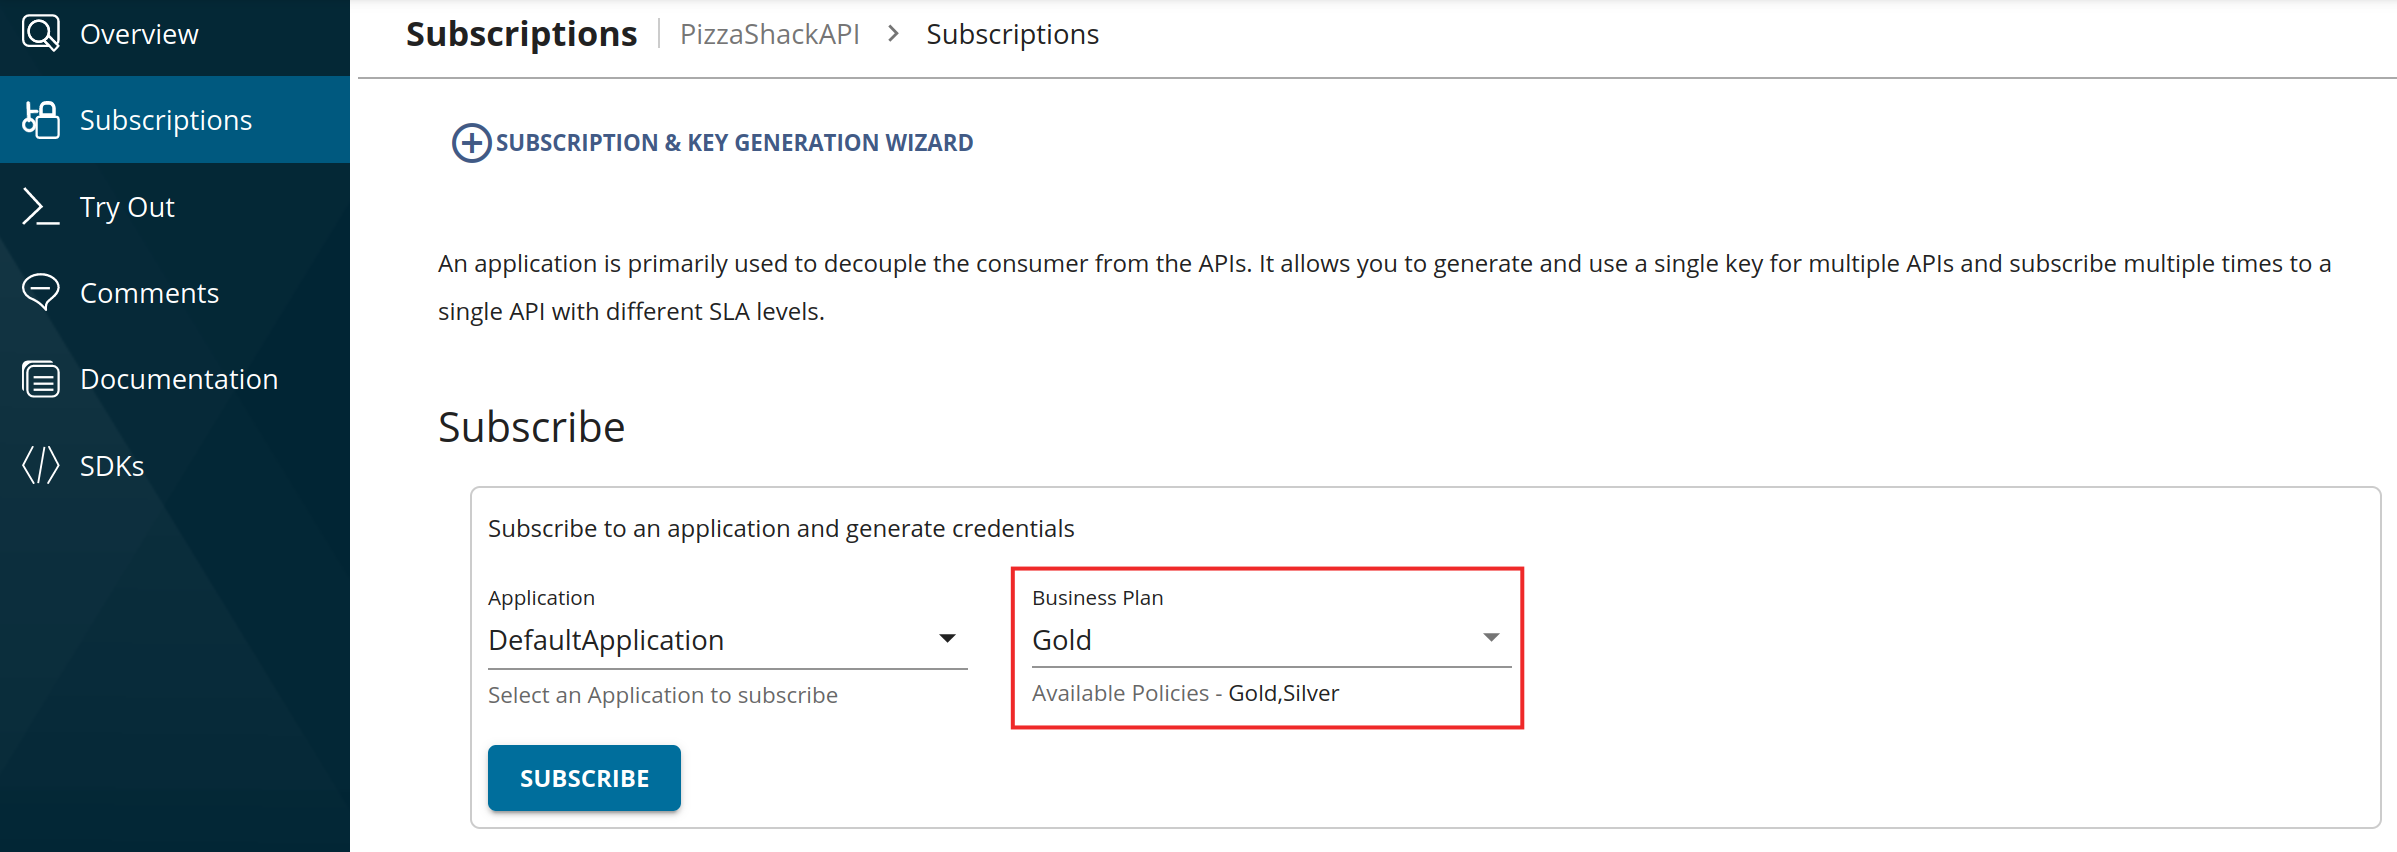
When subscribing to an API, select the tier that matches your needs:
- Navigate to the API in the Developer Portal
- Click Subscribe
- Select your application from the dropdown
- Choose the appropriate subscription tier based on your expected usage
- Complete the subscription
Tip
Some APIs may offer custom subscription tiers with specialized configurations for different API types: - GraphQL APIs: Complexity and depth limits - Streaming APIs: Event count limits - AI APIs: Token-based limits
Check the API documentation for details on how these limits are calculated.
Change Subscription Tiers
If your usage requirements change, you can upgrade or downgrade your subscription tier:
- Navigate to Applications in the Developer Portal
- Select your application
- Find the API subscription you want to modify
- Update the subscription tier
Warning
After modifying a subscription, regenerate your access tokens to ensure the new tier takes effect.
See Also
- Rate Limiting for App Developers - Understand how rate limiting works
- Handle Rate Limiting Errors - Implement error handling strategies
- Reset Application Throttling Policies - Reset individual user quotas